I love Tempe.
At home in Bali, I ate Tempe almost everyday. Most of the time I ate them fried with salt and pepper, or with turmeric, coriander powder, or coated with crispy flour or breadcrumbs. The best one was when my mom fried the small tempe stripes and coated them in lemongrass, galangal, palm sugar sauce - Tempe Manis! Sometimes these days when I get creative, I also make a burger patty, katsu, schnitzel, and possibly any other way you want to have your meat cooked, but only using Tempe without losing the amount of protein!

Tempe is a nutritious, soybean cake, originally from Indonesia. Unlike its sister tofu that's softer in texture, Tempe is more nutty and has a unique, funky, fermented taste. That's because it is made from the culture of Rhizopus sp., a type of fungi.
The cost of 250 gram Tempe in Sydney is about $3.50. In Bali, this block of Tempe costs only 5000 IDR , which is about $0.50! So, you can imagine that I have to live in this irony for the last 4 years 😭😭😭
So, I decided to make my own and I want to share with you the detailed steps with the tips and traps in making Tempe. You too can successfully make it in one go👍👍👍. Here are the steps:
First, soak about 1 kg of soy beans in warm water. This step has to be done at least for 6 hours but overnight is better. I used the dried soy beans from a local Asian store ( costs $3.65 per kg)

After soaking, you should see that the beans change shape from rounded to oval/elongated. As they take up the water, they swell and their skin easily peels off . At this step it is good to squeeze the beans to help remove the skin and split the beans. You will understand later that Tempe forms best with the beans split as this will actually create more surface area for the fungi to grow their micellium (the white part), and result in perfectly hold Tempe cake with good ratio of beans and micellium.


Next, drain the water and transfer all the soaked beans to a pot. Boil the beans for 45 minutes to 1 hour. While doing this step, thick white foam will appear on the surface and some of the peeled off skin will also float. it is best to skim this away using a strainer. Also remember to keep stirring to prevent burning of the beans in the bottom of the pot and top up the hot water to always cover the beans.


After continuous boiling, you should observe that the beans get more softer. Try sampling one bean to make sure they are soft enough - you can easily bite it. If you are confident about the beans softness, then it is time to add vinegar before you stop the boiling. Add about 8 tablespoon of vinegar then stir well. Boil for another 5 mins then stop. Vinegar helps lowering the pH and prevent the growth of unwanted microbes.
Drain the water, and keep the beans in the pot. Bring the pot back to heating while continuously stirring to remove the excess water.

After briefly evaporating the water, remove the beans from the heat. Let the beans cool and dry. You can transfer some beans to another bowl to allow the dry quickly. At this stage , leave the beans for 1 hour because you want all the liquid to be gone.


While waiting, you can prepare the ziploc or sandwich bags that you will use to store the Tempe. Create holes on the bags by using a toothpick to pierce through the double layer bag. This step is important because the Ragi / fungi need holes for oxygen to support their growth. So create as many holes as possible.

When it cools to 35 degree Celcius, check again the wetness , you may remove the excess water using paper towels. It is important that the beans are dry because we do not want the extra moisture when they are wrapped. When the beans are completely dry and at the right temperature, it is time to add the starter culture, the Ragi Tempe 😁. I used Ragi Tempe bought from a local Indonesian store (it costs $2.80)

Add about 1 teaspoon of ragi to every 800 grams of beans . The weight of the beans will now double after soaking and boiling, so you have to use the current weight. To the 2 kg beans, add 2-3 teaspoons of ragi. Mix them well.

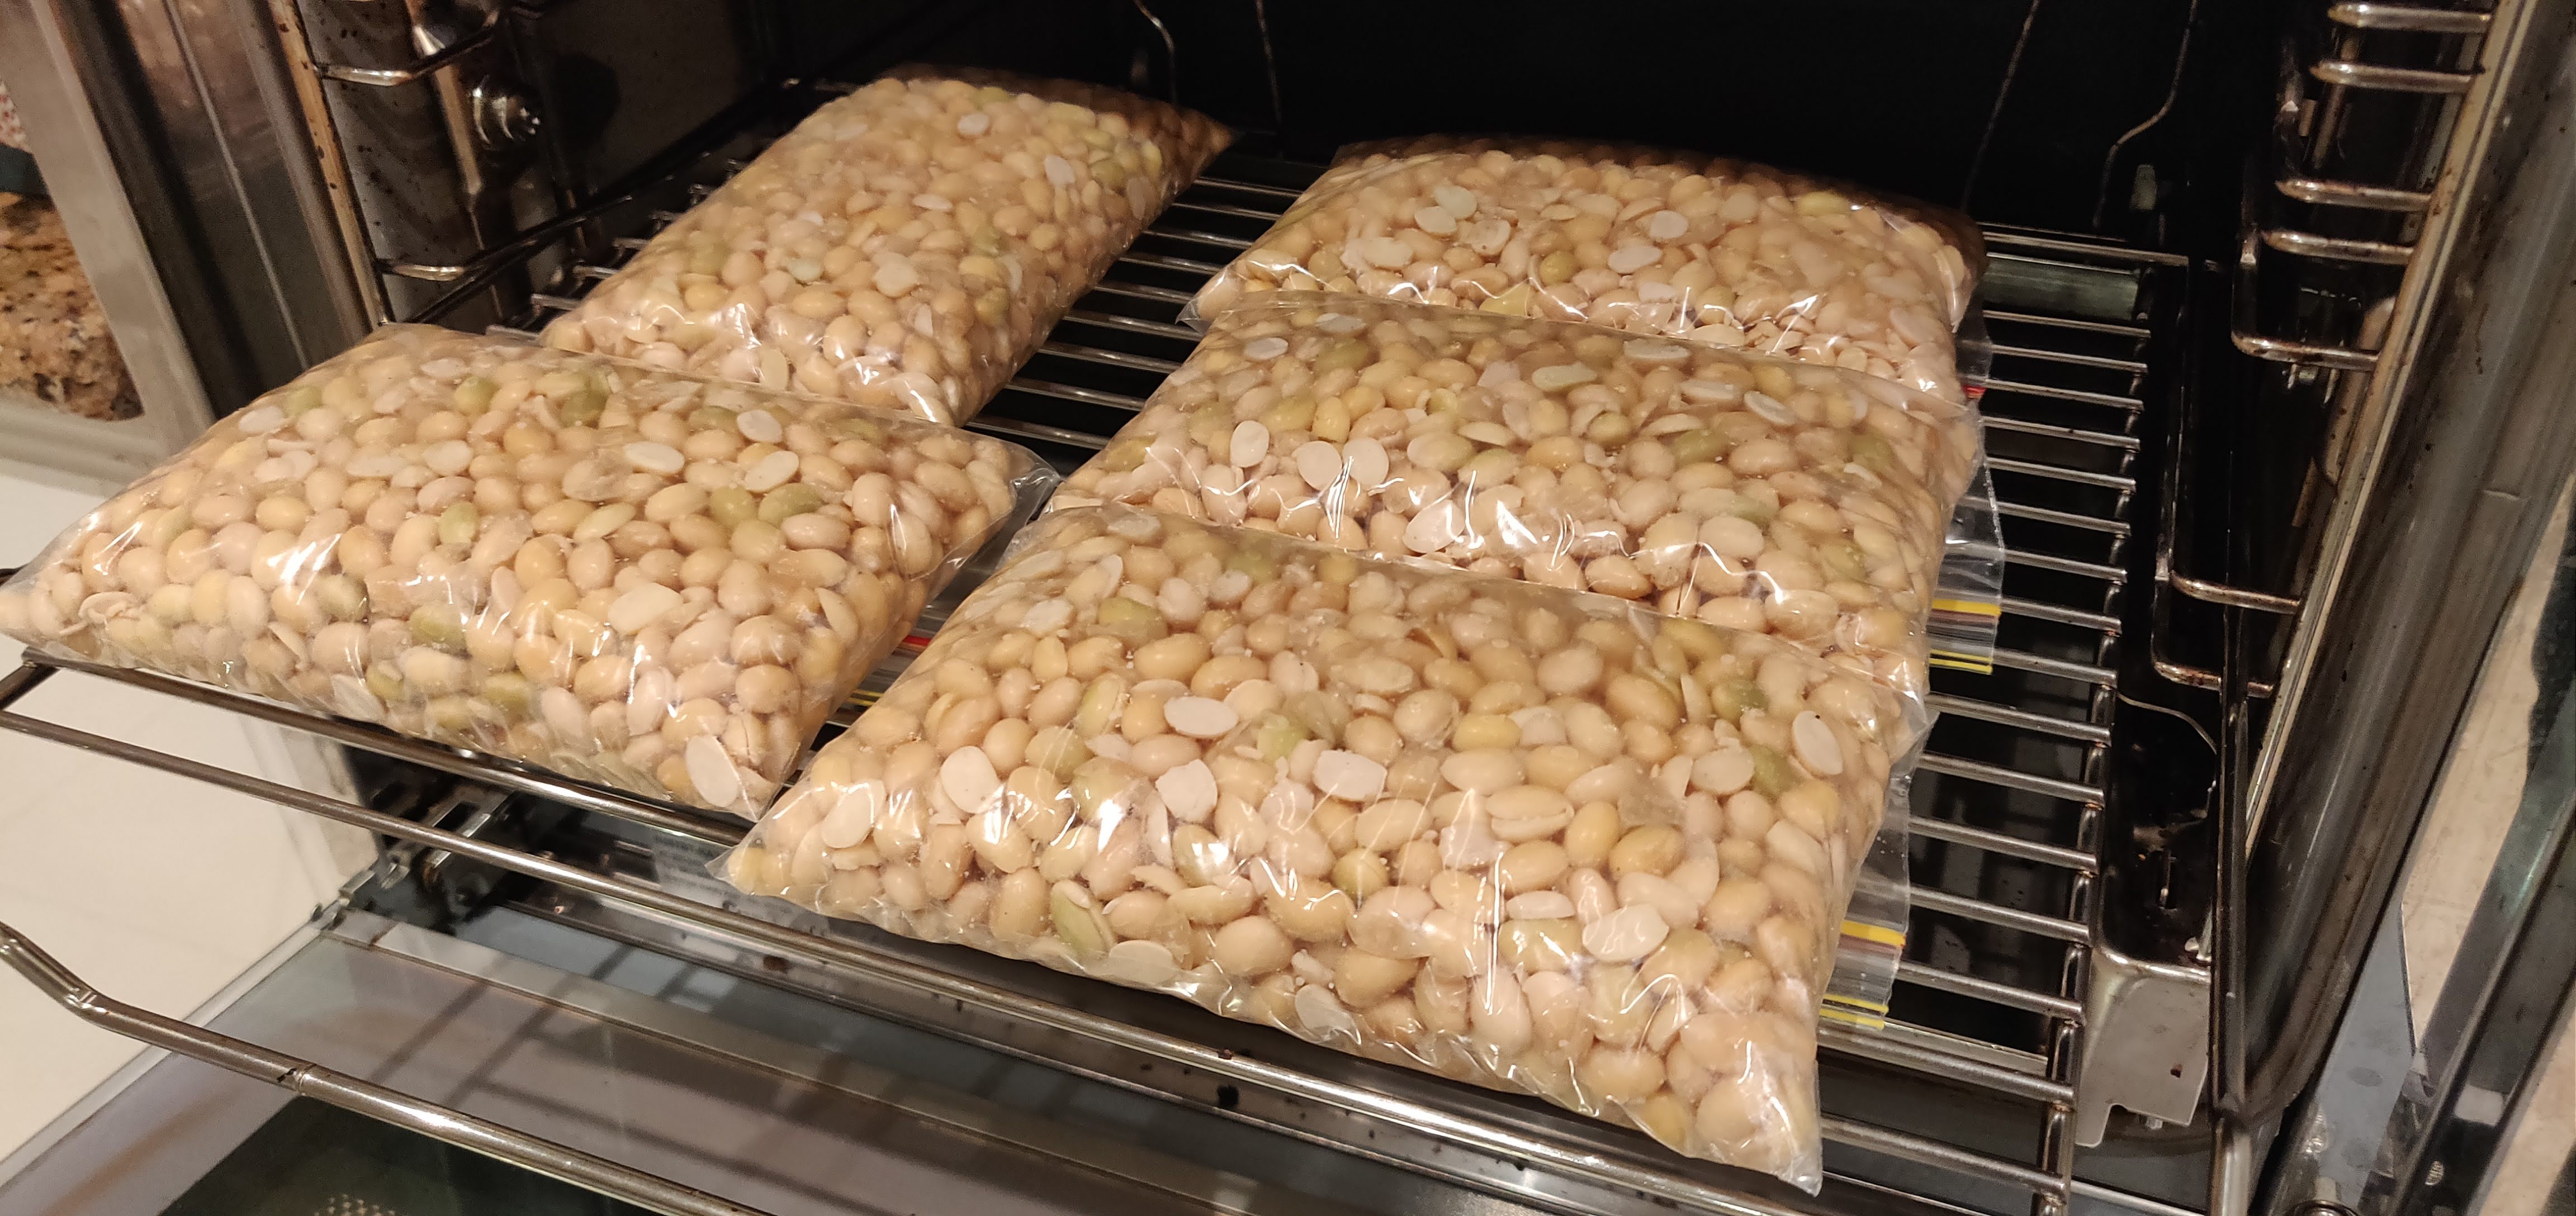
Add the beans ragi mixture into the Ziploc bag. Add about 5-6 scoops to the bag, enough to lay them flat and you get a thickness you want. Make sure no air is trapped when you seal the bag.

Then lay all your Tempe packs on a rack and place them in a well aerated room or cupboard. I put them in the oven while turning on the light and fan at 30 degrees for every 6 hours. But, storing them in a box is also fine as long as it is aerated well. Make sure your storage space is clean to prevent contamination of other types of unwanted microbes.

Then wait for the fungi growth in the next 2-3 days until you observe the micellium thread.
Here is the observation from my experiment:
After 24 hours....
The beans look more wet and more water droplets inside the bag. I was worried that because of the cold weather, the fungi could not grow well. So I created more holes on the bag and incubate in a warmer temperature using the light and fan in my oven. I only did this step 1 hour a day and waited more. I suspected that the ragi needed more time to enter the growth phase. The whole a environment should be warm enough but not moist or wet.

After 48 hours...
Surprise!
My Tempe grew! Yes, you can see the clear white micellium around the beans. At this stage, the ragi has finally reached the log phase but may need another 12 hours till the Tempe is ready!

At 60 hours
Here is the final look of my Tempe. At this stage I decided that it is ready to be processed to eat. I also notice some of black spots, the mature spores which indicates the presence of other microbes and around that region, the microbes could not feed on any surface of the beans because of some air or the skin of the beans.

Here is the look of my Tempe after frying. Looks yummy right? I am so satisfied with it!
Notice the bigger nutty texture in the cuts, that's because I didn't remove the skin in all beans and split them in half. This also makes my tempe more crumbly that most commercial tempe as it has less micellium on the bean surface to hold them together. It is also because it was too wet in the beginning when moisture built up within the first 24 hours. So, keep them dry from the start!
I hope this one gives you a better idea now why we need to thoroughly remove the skin and split the beans so that we have more micellium around the beans. This is also important if you aim to sell your tempe, you will require less grams of beans by splitting them to make given gram of tempe block.

Now, i gotta go because my Tempe is waiting for me to eat them.
Please feel free to share your tempe making experience and some troubleshooting tips in the comments section. I would love to hear how you go.
Happy experimenting and good luck!
Comments
Post a Comment